My favorite resurgent food theme from the last few years is what I like to call “grandma chic.” While food writers, bloggers, chefs, and amateur food enthusiasts will claim to march to beat of their own drum, we all love to follow and comment on the latest foodie trends.
The trends of 2014 included: the Great Kale Revolution, healthy lunches for kids, all local everything, gluten-free foods, and upscale comfort food. So far, 2015 moved further away from molecular gastronomy and embraced things like biscuits, waffles, poutine, and more obscure culinary traditions.
For me, it was “grandma chic” above all else. Everyone believes that their grandma or other kitchen matriarch makes at least one dish better than anyone else in the world. We’re all too happy to pit our sweet, shrinking, and wise elderly relatives against each other in hopes of prevailing with the most authentic and tastiest recipe.
Well guess what, both my grandmothers are Kitchen Queens. My paternal grandmother has cornered the market on eggplant parmigiano, lasagna, and peach pie. My maternal grandmother, Nonna, was the authority on fresh pasta, taralli, and seasonal cooking. She left us all too soon, but made a lasting impression on my life and forever changed my perspective in the kitchen.
Rino, of the now-closed Rino’s Italian Ristorante in the Parley’s Canyon area, is my first stop at the Saturday farmers market at Pioneer Park. His produce reminds me of my Nonna’s kitchen table.
A fresh white tablecloth was the base for the summer’s bounty, day in and day out. Tomatoes, peppers, greens, and many other veggies were piled high, tempting us grandchildren with their wafting scents. We’d sneak tomatoes and peppers all summer, but left our favorite veggies alone in hopes they’d be used for our favorite dishes. Mine included fresh orrechiette with veggies from the garden, braised beef with tomato sauce, and fried squash blossoms.
 Nonna lightly fried squash blossoms in a big, cast iron pan that filled the kitchen with a sweet scent that tortured me until dinnertime. Our whole family would sit down, and I’d silently pray everyone would help themselves to the main course so I could get my grubby little hands on the blossoms. I loved the crunch at the tip of the blossom that gave way to its tender base filled with deliciousness. Sometimes, she’d fill them with herbed ricotta. Other times, she fried them plain, with no filling. I didn’t care which she chose, so long as there were blossoms to be had.
Rino has had blossoms since the market began this summer. I haven’t missed buying them—not even once. Each one is ready to be used, slightly fragrant, and cut the same way my Nonna cut them from the garden. I fry at least two of the 10 blossoms I buy from him. The others may be fried as well, or sautéed for pasta, added to farro salads, or as a simple topping on fried eggs or a frittata. No matter how they’re used, I silently thank both my Nonna for her delicious, simple way of cooking and Rino for the opportunity to cook her recipes from my childhood.
Make these squash blossoms for the people you love most. Serve them alongside pasta, poultry, or egg dishes, and manipulate this recipe so it becomes your own. Then pass it down as your family grows. Maybe someday, our grandkids will pit our recipes against each other, too.
Fried Squash Blossoms
Makes 10 blossoms
- 1 10-inch cast iron frying pan
- Olive oil, for frying
- 1 cup ricotta
- 1 tablespoon fennel pollen
- 1/2 cup all-purpose flour
- 1 teaspoon kosher salt
- 6 ounces beer, lager, or pilsner (I’ve really loved using Squatters Bumper Crop this summer)
- 10 zucchini blossoms, stamens removed
- Fleur de sel sea salt
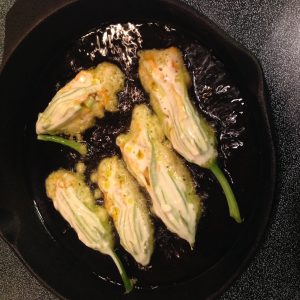 Add oil to the pan, about 1 to 2 inches deep. Heat on medium-high until oil is fragrant and shimmering. While oil is heating, remove stamens from blossoms. Mix ricotta with fennel pollen and season to taste with salt and pepper. Spoon or pipe 1-2 tablespoons of the ricotta mixture into the center of each blossom. Don’t overfill with ricotta (I know it’s tempting, I still make this mistake. Remember, we want to taste the blossom.) In a medium bowl, whisk beer into flour and salt until only small lumps remain.
Dredge blossoms in batter and shake off any excess before laying them into the oil to fry. Make sure not to overcrowd the pan and fry each side of blossoms for about 4 minutes. Remove to a plate layered with paper towels to drain. Sprinkle with fleur de sel and serve immediately.
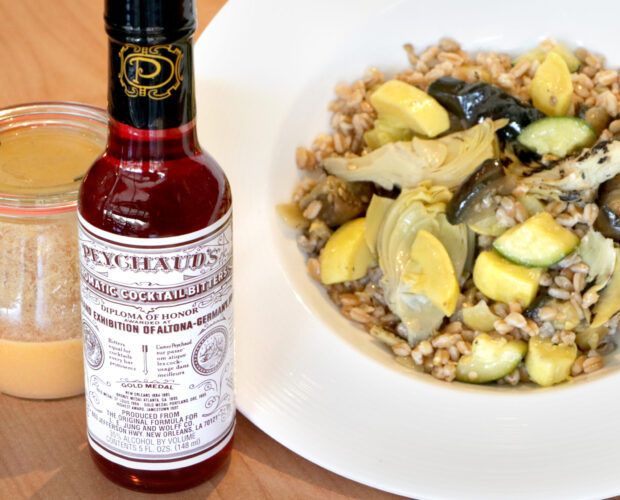
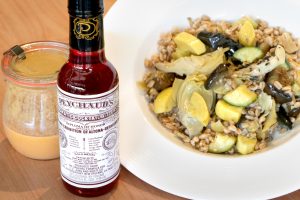
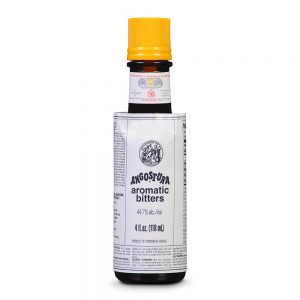 You already know you must have bitters to make a proper drink. Even mid-level mixology is impossible without them. However, where most home bartenders go wrong is by choosing one bitters—generally Angostura—and thinking that one size fits all. You wouldn’t make a Manhattan with vodka, so why would you try to make a Sazerac with Angostura?
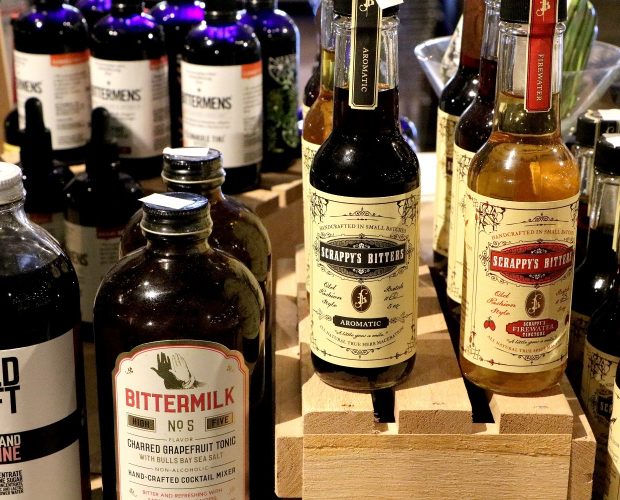
 My first two choices for the three must-have bitters are Angostura and Peychaud’s. Maybe it’s crazy to have two of my three top bitters be gentian-root based aromatic bitters. However, with the sheer number of pre-Prohibition-era cocktails that call for Angostura, that one is a given. Angostura is a classic and hard to replace in many classics, but where it is musky and masculine, Peychaud’s is spiced and feminine. Many of my favorites (Seelbach, Sazerac, Vieux Carre, Old Hickory Cocktail) call for Peychaud’s, so this is a must. While Peychaud’s can often times be substituted for Angostura, it would be offensive to substitute Angostura for most cocktails calling specifically for Peychaud’s.
  Angostura is the most commonly called for bitters, but not far behind are orange bitters. So many of the classic cocktails—such as a Bijou, Opera, Trilby, and Bronx—require orange bitters, so you simply must have one for a properly stocked bar. I actually have several, but one would suffice. There are many fantastic options out there so, how to pick? With a lineup of Angostura and Peychaud’s, the clear best match is to stick to the classics. Released in 2005 as the first commercial bitters in over 50 years, my pick for orange bitters has to be Regans’ Orange Bitters No 6 from New Orleans. Regans’ Orange Bitters is, of course, heavy on the spice such as cinnamon, bourbon vanilla, and clove. And when the weather starts to cool down again in a few months, this flavor profile in my cocktails will really hit the spot.


 2.
2.  3.
3. 


 11.
11. 
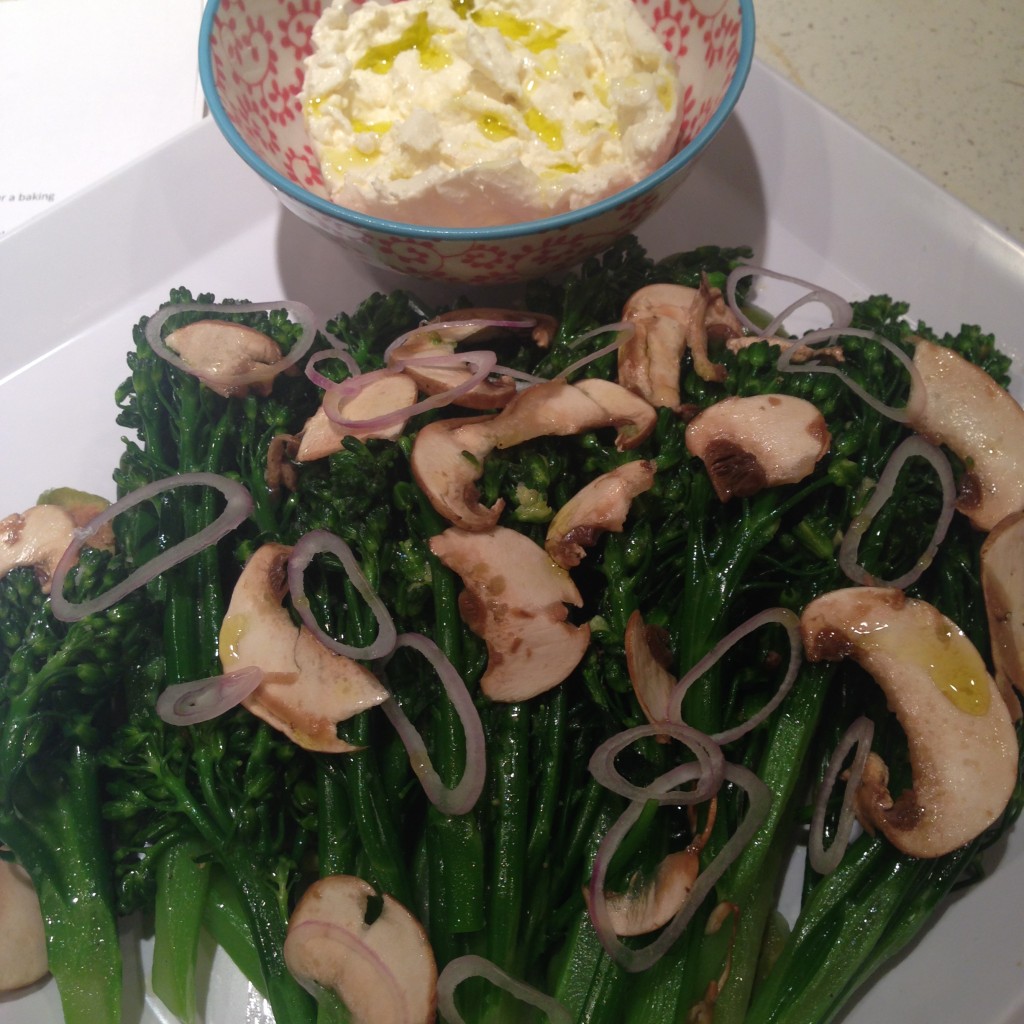
 If my friends have ever been to my house, I’ve likely fed them farro. It’s my go-to for sharing ,and it fits into almost any special dietary need. Plus, it’s delicious.
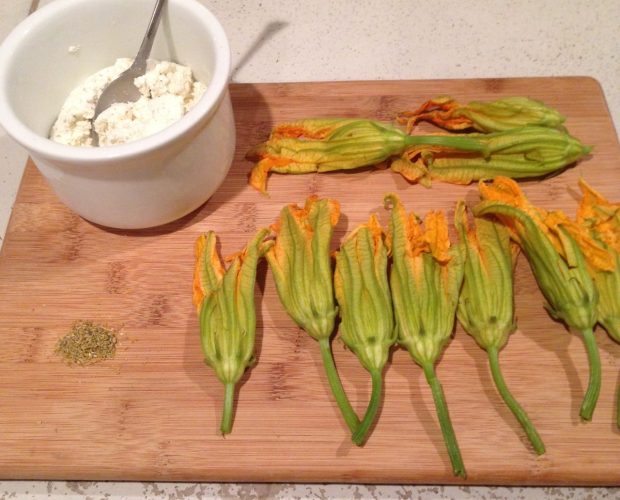
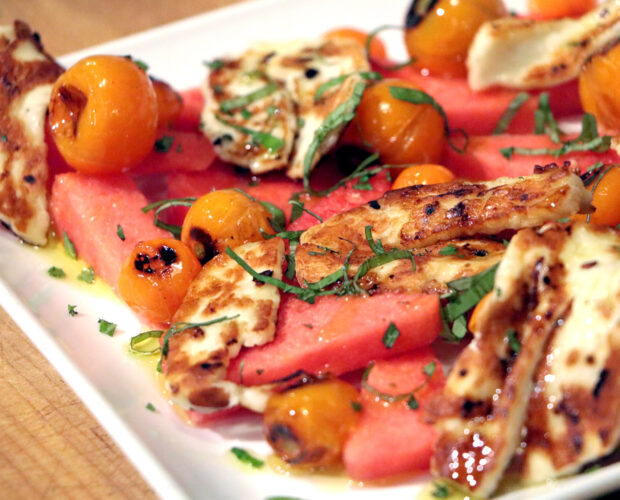
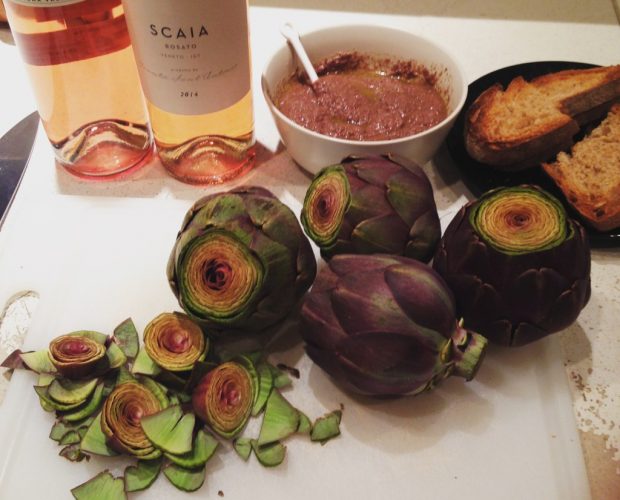
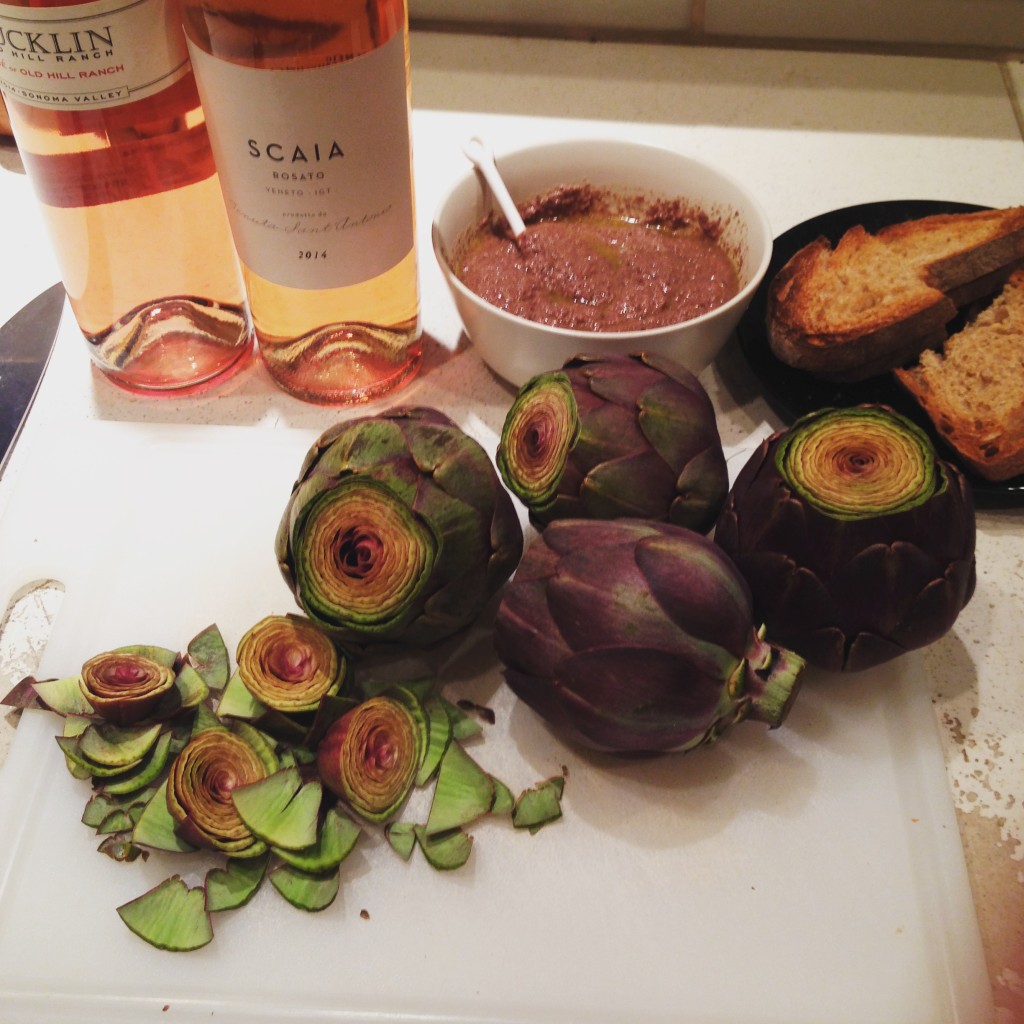
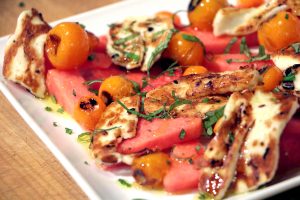 My first Tuesday purchases were huge, heavy heirloom tomatoes, a small basket of cherry tomatoes, a perfectly ripe watermelon, bread, and greens. Greens, bread, and heirloom tomatoes were bought for specific purposes. The cherry tomatoes and watermelon were for halloumi, but I wasn’t quite sure how they’d all come together, or if one would be chosen over the other.